
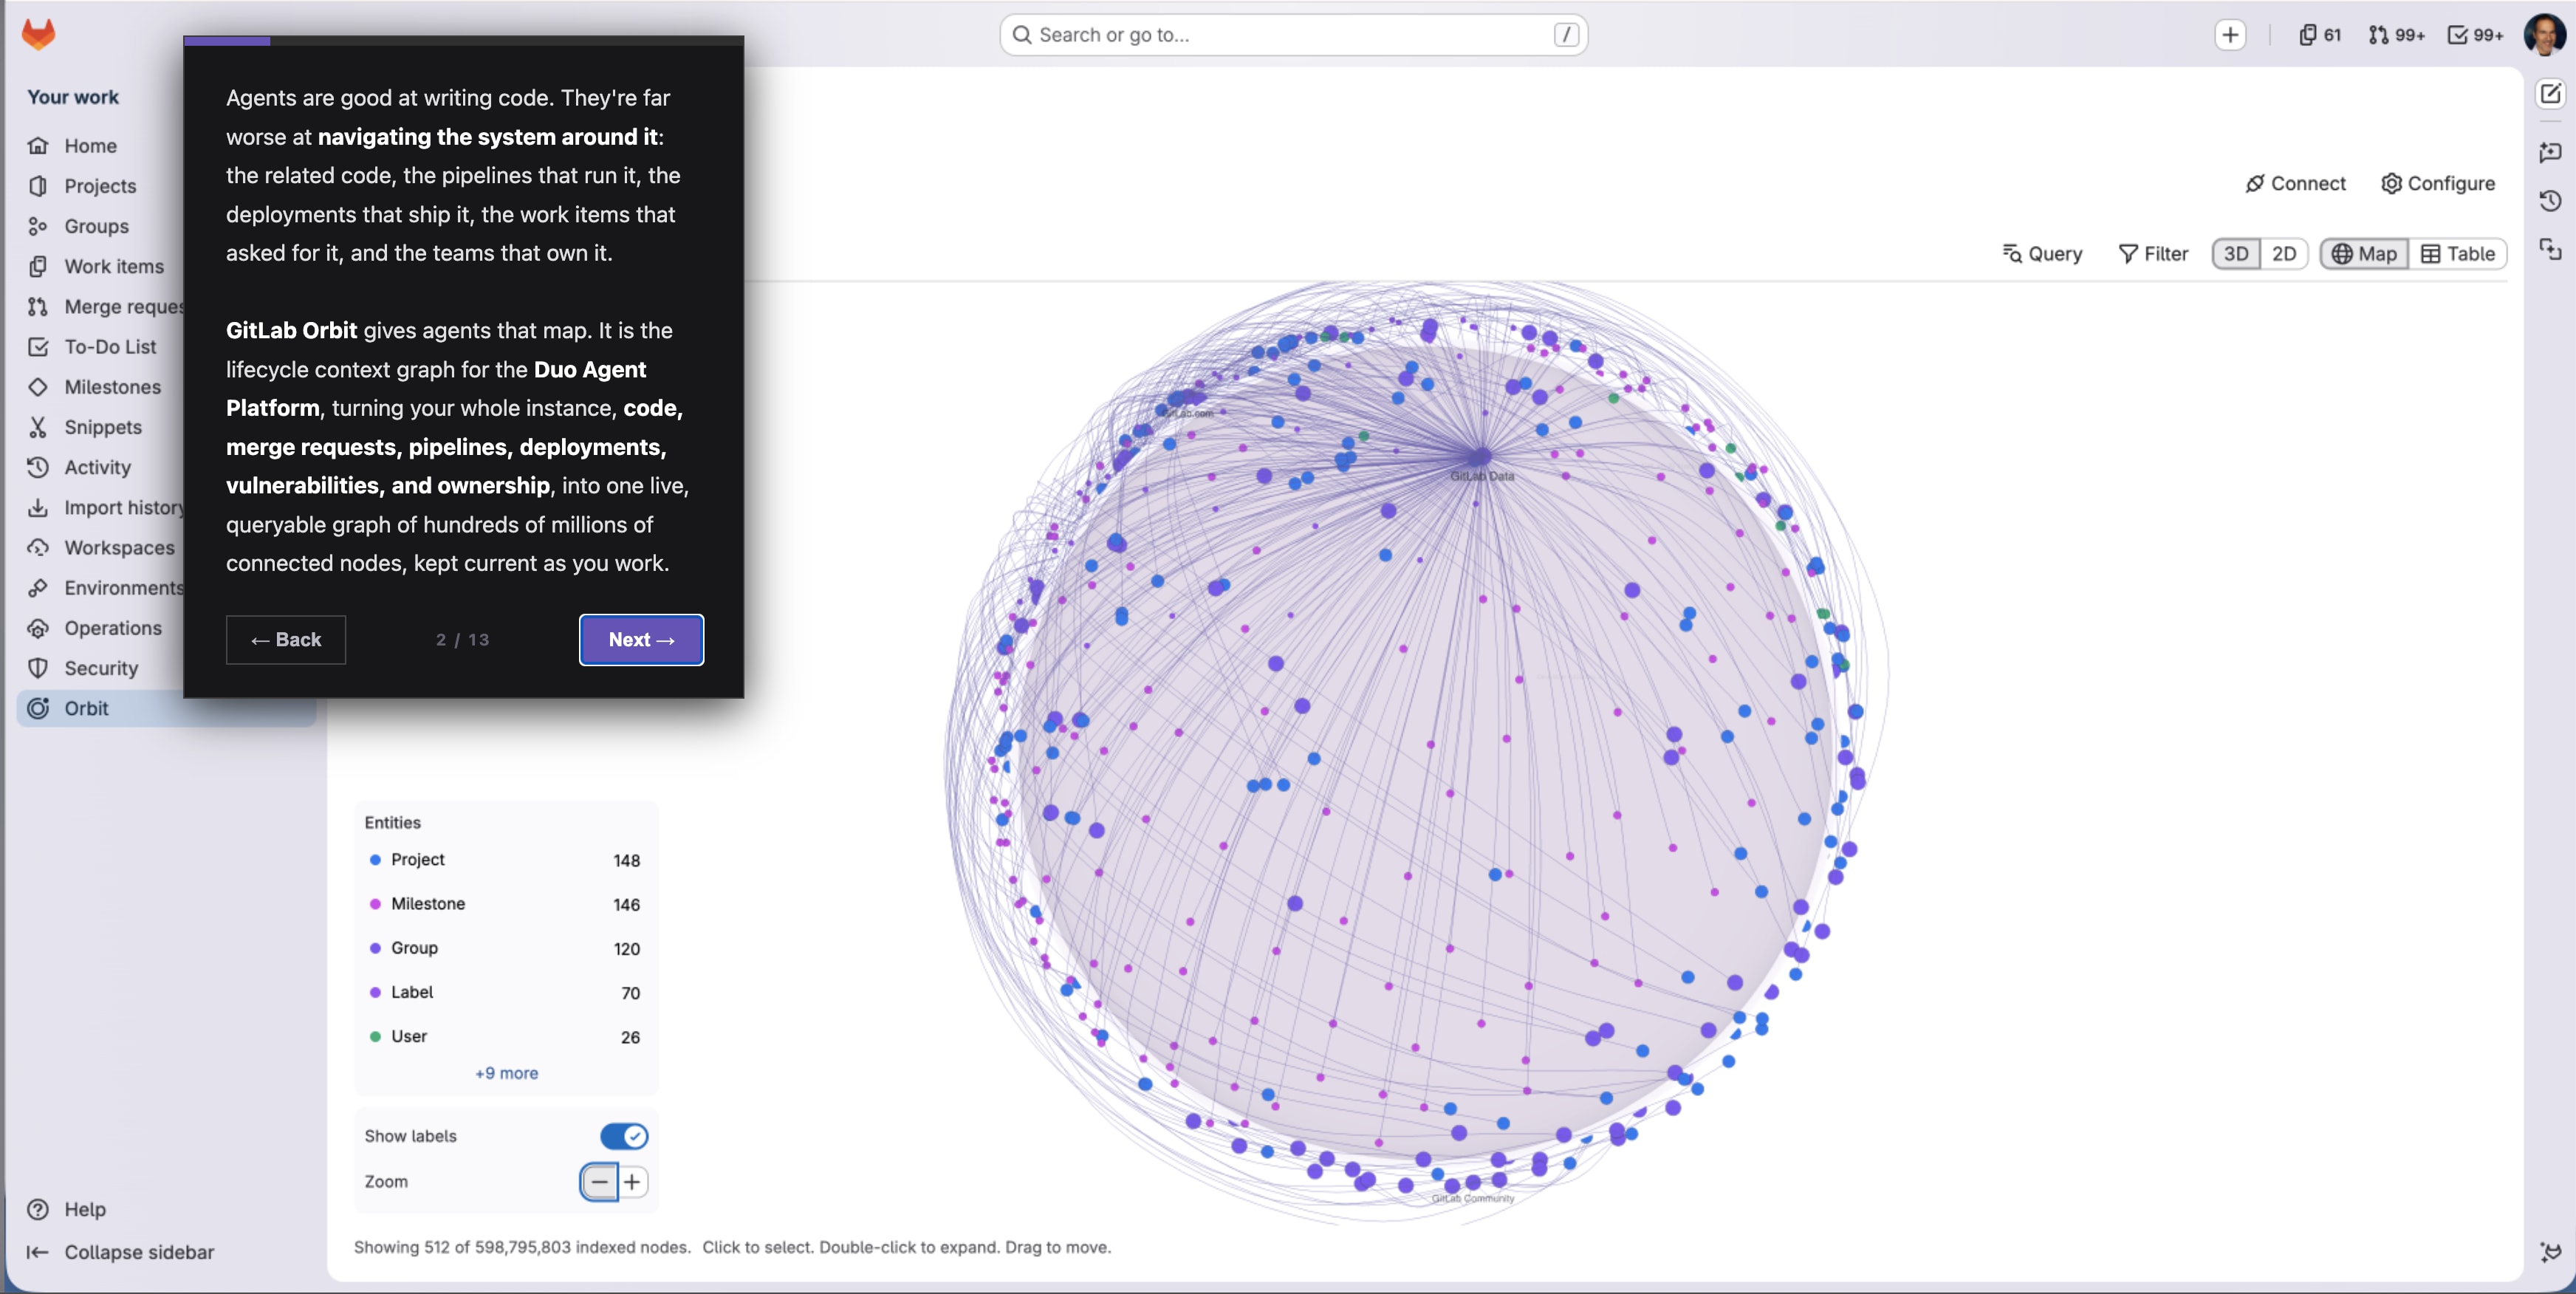
A demo used to take me days to build — screenshots, narration, stitching it together in an external tool, chasing feedback — and every time the feature changed I'd have to start over. A few months ago, I handed most of that to an agent in GitLab Duo Agent Platform.
GitLab Duo Agent Platform is built for intelligent orchestration, running agentic workflows across the software development lifecycle, but it's flexible enough to take on repetitive work outside of development, too. When I pointed it at demo generation instead, it worked well enough that I think you should try the same thing with something on your own plate. I created this hands-on tutorial to help you get started. And one more thing: You don't need to be a developer to do this. We've seen an increase in interest from non-engineering roles in using GitLab to run agentic workflows like this one. If that's you, follow along to get started.
In this article:
- Why click-through demos are so effective
- The evolution: From VMs to external demo tools to agents
- The stages to create a demo
- How the demo generator works
- Demos are now in code
- How GitLab Duo Agent Platform made this possible
- Build your first agent
Why click-through demos are so effective🎯 Try GitLab Duo Agent Platform today!
People connect faster when they see a feature in action rather than read about it. But live demos are hard: You need product access and enough familiarity to navigate confidently.
A click-through demo solves that. You take real actions yourself, guided by a short narrative at each step. Unlike video, it puts you in control of the pace. And unlike live access, which requires a real environment, it's just a link: free to share, reusable, and consistent every time.
Explore examples in the GitLab Demo Hub.
The evolution: From VMs to external demo tools to agentsDemos haven't always looked like this. Looking back over my career, here's how they have evolved:
- VMs (2000s): Shipped virtual machines pre-loaded with the product and demo content, later centralized on ESX servers.
- External tools (SaaS era): Moved to vendor platforms with built-in analytics, but still manual to build and tied to their infrastructure.
- Agentic (now): Agents can generate demos from a prompt, deployed on the same project that creates them, no vendor dependency.
Each layer made demos more accessible; the agentic layer is what makes them sustainable.
The stages to create a demoCreating a click-through demo involves these stages:
- Learn the feature: Read docs, dig through issues and Slack, sync with product managers and engineers to really understand what you're showing, and mainly understand the problem it solves and the customer impact and value.
- Build the story: Build a real-world scenario that shows the customer impact — what problem this solves for them in their day-to-day work, and why it matters.
- Set up the environment: Create a project and generate realistic demo data that supports the story; for example, seeded vulnerabilities for a security dashboard, or data for meaningful charts.
- Capture the content: Take screenshots or record clips of the actual flow.
- Write the narrative: Craft content that guides someone through each step, based on the story and customer scenario you defined in Step 2.
- Build the demo: Work in an external tool to stitch everything together into a clickable walkthrough, add links to related assets, and define the call to action for each step.
- Review with stakeholders: Share a draft, collect feedback, iterate.
- Incorporate edits: Update the narrative, reorder steps, regenerate as needed.
- Publish: Push to GitLab Docs, Demo Hub, and any other target location.
- Announce: Share internally on Slack, embed in blog posts, post on social.
Together, these steps can take days, and the moment something changes in the product, you have to start over from Step 3.
An agent can help with almost all of these steps: reading docs, scanning issues, pulling context from Slack, populating demo data in the project, and pulling out what matters most. It can't fully replace the human who decides what to create and reviews the results before they ship, but it can do a remarkable amount of the groundwork.
In the agentic tool I built, the Click-Through Demo Generator, I focused on automating Steps 1, 2, 5, 6, and 9: the ones with clear inputs, predictable outputs, and previously fully manual execution. The other steps can also be handled by specialized agents.
How the demo generator worksThe agent works like this: Drop screenshots into a folder in the project, optionally with a context.md for background on the feature, and trigger the workflow from an issue comment. The agent reorders and renames the screenshots, writes the narration, builds the demo with a built-in branded template, and opens a merge request. Review it, and once you merge it, the demo auto-publishes to GitLab Pages. If something needs to change, ask the agent to update it.
Under the hood, a Custom Flow gets triggered. The agent calls a custom tool I built to assemble the demo into an HTML template, overlaying each screenshot with its narration message box, and comments the merge request link back on the issue. A skill guides its writing so the narration follows GitLab's marketing messaging, focused on customer outcomes rather than our own features.
Here's the actual instruction text from that skill's SKILL.md that the agent reads and follows every time it writes narration:
"Great narration sells an outcome, not a UI tour. Someone who clicks through should understand what problem the product solves, why this approach is better, and what they could now do, without reading any docs.
Structure every demo as three acts: Open on the customer's pain, show the product solving it step by step, and close by naming the value they walk away with."
For demos in more languages, we just need to add a localization skill to the project, and every demo gets automatically localized from then on.
Publishing with a skill
Publishing to the Demo Hub, our production demo portal, is just as hands-off as publishing the demo itself. When a demo is ready to ship, you tag it as production in the development gallery. That's the cue for the agent to run a skill in this project that reaches into the Demo Hub project and does the rest: It writes a short description, stamps it with today's date, tags it as new, and opens a merge request adding the demo as a card. Merging that MR, and putting the demo live, is still a human's call.
Demos are now in codeA click-through demo is really just a set of files: HTML, screenshots, and config, which makes it a great fit to live in a repo. The demo is no longer trapped in a separate tool that only a few people know how to use. It lives in a GitLab project, which means it can be:
- Reviewed in merge requests
- Improved by teammates
- Versioned over time
- Updated by agents, not just humans
The demo becomes a team asset, not a one-person task. That's a big deal. More teammates can now create demos, review them, improve them, and publish them, without needing any special tool knowledge. If you can open an issue and approve an MR, you can use this workflow.
Want to try it yourself?
Fork the Click-Through Demo Generator project and read the README for the full setup. Custom Flows aren't copied over when you fork a project, so you'll also need to enable the Generate click-through demo flow (you'll need to be logged in to GitLab to view it) in your forked project. From there, the README walks you through everything else.
How GitLab Duo Agent Platform made this possibleThis project would have been significantly harder without GitLab Duo Agent Platform.
GitLab Duo Agent Platform gave me the missing infrastructure: a Custom Flow that triggers from an issue comment, a container image I define with exactly the runtime and dependencies it needs, and built-in tools to work with GitLab directly, like opening merge requests and commenting on issues. The merge request is where I review the demo before merging it and letting the agent publish it to the Demo Hub.
In platform terms, this is agentic automation — the Custom Flow orchestrating the agent's behavior while GitLab’s built-in tools let it work with issues, project files, merge requests, and GitLab Pages without requiring separate integrations.
Custom Flows let you define your own multi-step workflow and extend the agent with custom tools, like the tool I built to assemble screenshots and narration into the demo's HTML template. You implement that capability yourself, and it runs as part of the flow, on GitLab's compute.
Everything happens inside GitLab: the request, the review, the output, the deployment. That's what makes the workflow faster, clearer, and easier to hand off.
Build your first agentZoom out from my own workflow for a second and focus on what happens when repetitive work gets handed to an agent with access to your GitLab data. For a team lead, that's fewer cycles spent producing collateral and more spent reviewing and deciding. The same shift shows up anywhere a team has a repeatable, well-scoped task sitting on top of GitLab context.
Start small and simple. The demo generator is just one example of the pattern, but you don't need to write code or use a Custom Flow to get started. Start with a single agent, give it one clear job, and see what it can do before reaching for anything more complex.
In this quick tutorial, you'll build your first agent, one that helps you plan your work and saves you time. Don't have access to GitLab Duo Agent Platform? You can start a free trial to follow along. Two tasks, about 10 minutes total:
Task 1: Create a custom agent. In the GitLab UI, create a custom agent called "Daily Planner." Tell it what priority means to you — for example, issues blocking a teammate, anything due this week, or "treat anything with the customer label as top priority regardless of due date." Have it look at your assigned issues and merge requests, apply those rules, and tell you what to tackle first, what's blocking others, and what can wait.
Task 2: Enable it and review. Enable the agent in your project, then open GitLab Duo Agentic Chat, select it, and ask it to plan your day. It has built-in access to GitLab, so it pulls your actual assigned issues and MRs itself. Compare its plan to what you'd have figured out yourself, and adjust the agent's instructions until the plan is genuinely useful.
Congratulations, you just built your first agent, and it's already making your day a little easier. This is where it gets fun: Start thinking about what else you'd hand it, another decision you're tired of making yourself. Keep going, and that single-purpose agent turns into the assistant that runs your whole workflow.